Navigation and controls
Navigation and shortcuts
Action | Command |
|---|---|
Move the visualization | Click and drag (or touch and swipe) |
Adjust zoom level | Mouse wheel (or pinch on a touchscreen) |
View issue information in Visualizer | Click on an issue |
Open issue in new Jira tab | Ctrl-click |
Basic controls

After each field name you will find a number indicating how many distinct values exist for that field in your current query.
1. Save As & Saved visualizations
Save and recall your visualizations.
2. Filter & JQL query
The filter and query define what issues will be visualized.
If you would like to visualize issues matching an existing saved filter, select it in the Filter dropdown menu.
You may also use a custom query by selecting the custom visualizer filter. When selected, a new text entry field is added to the screen for the query. It uses the Jira Query Language (JQL). If you are not familiar with JQL, you can read more about it in Atlassian documentation and a series of articles. You can also build a query using the Jira search screen: Define the criteria using selectors on top of the screen, and then switch to "Advanced" mode to obtain the corresponding JQL query. The query can then be copied and pasted into Visualizer’s query field.
3. Search
Search for issues matching your filter or JQL query.
4. Display count
Tells you how many issues are showing vs available. See Limitations in Visualizer for more information.
5. Color by
Select a Jira field to define how issues will be colored. All issues having the same value in the selected field will have the same color.


6. X/Y axis
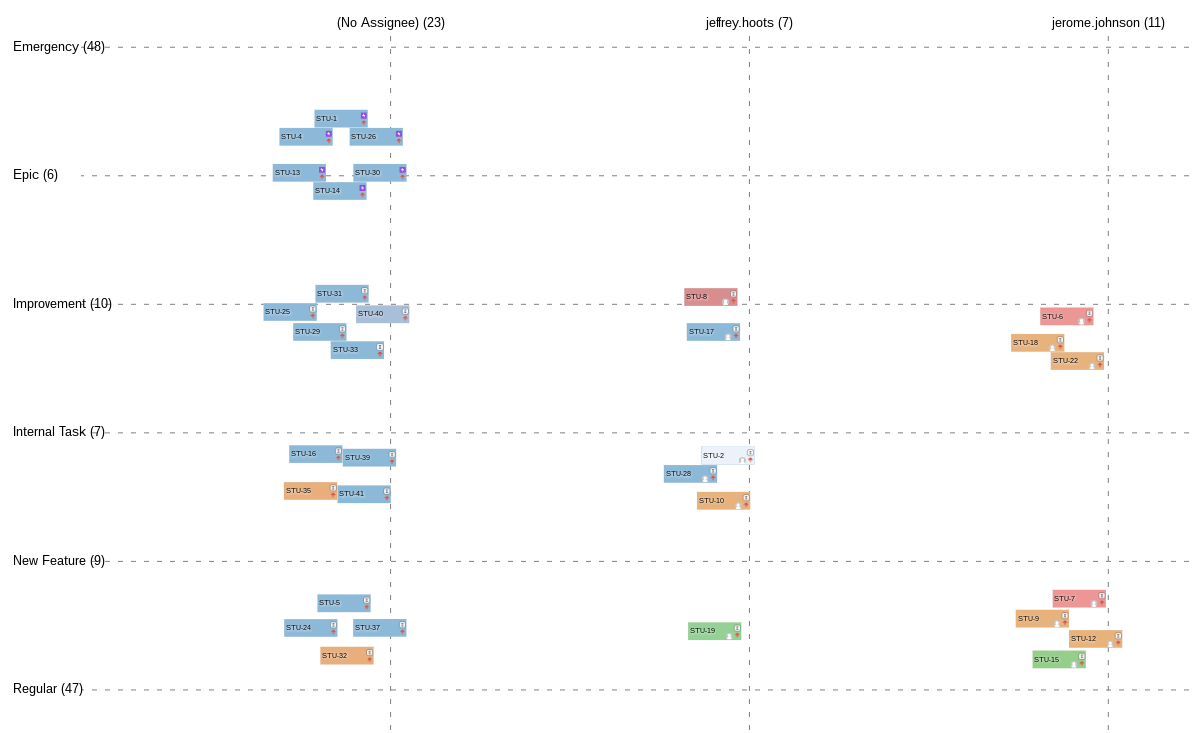
Select what fields to use when grouping issues into columns and rows. Use a field with a finite, well-defined set of values (such as assignee or status) to organize issues into rows or columns. Use a continuous field (such as date or number) to order issues by their respective values along an axis.
7. Size
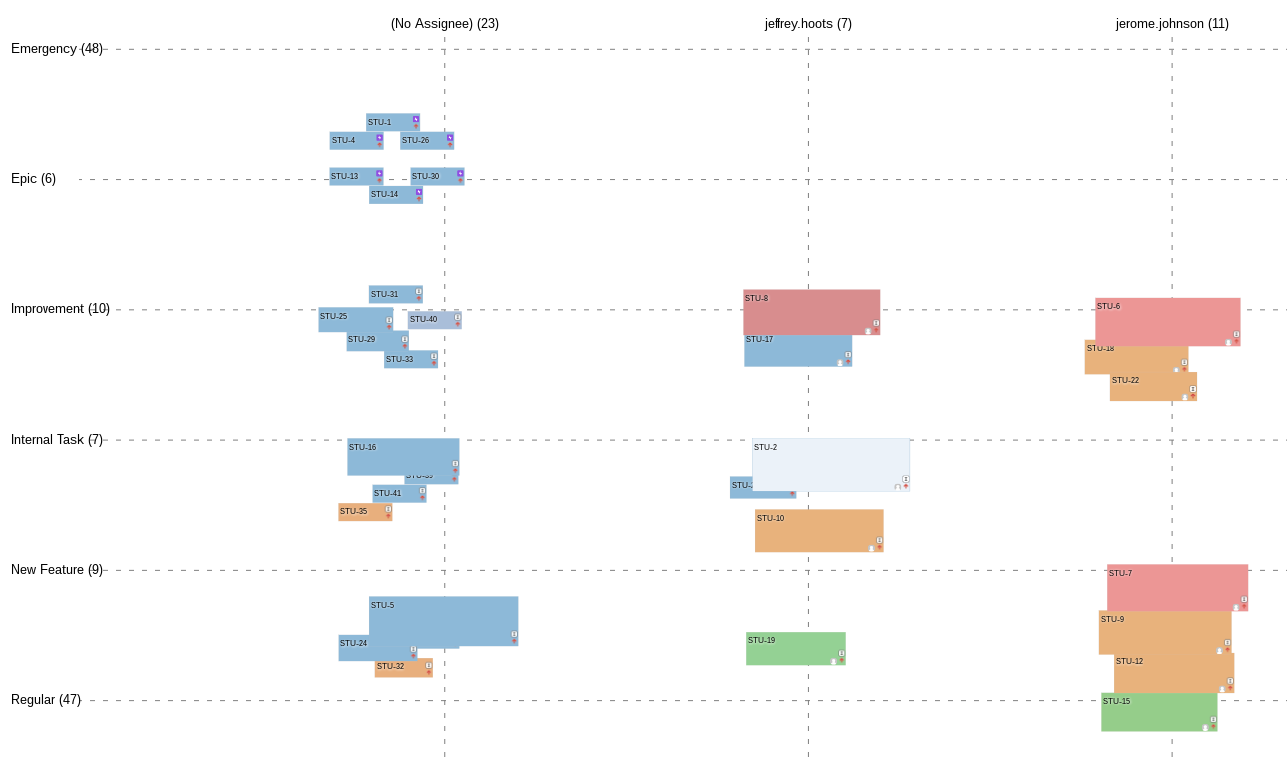
Use the Size selector to make card size proportional to values in a Jira field, e.g. making issues with bigger estimates appear as larger cards.


8. Configuration
Open the configuration panel.
